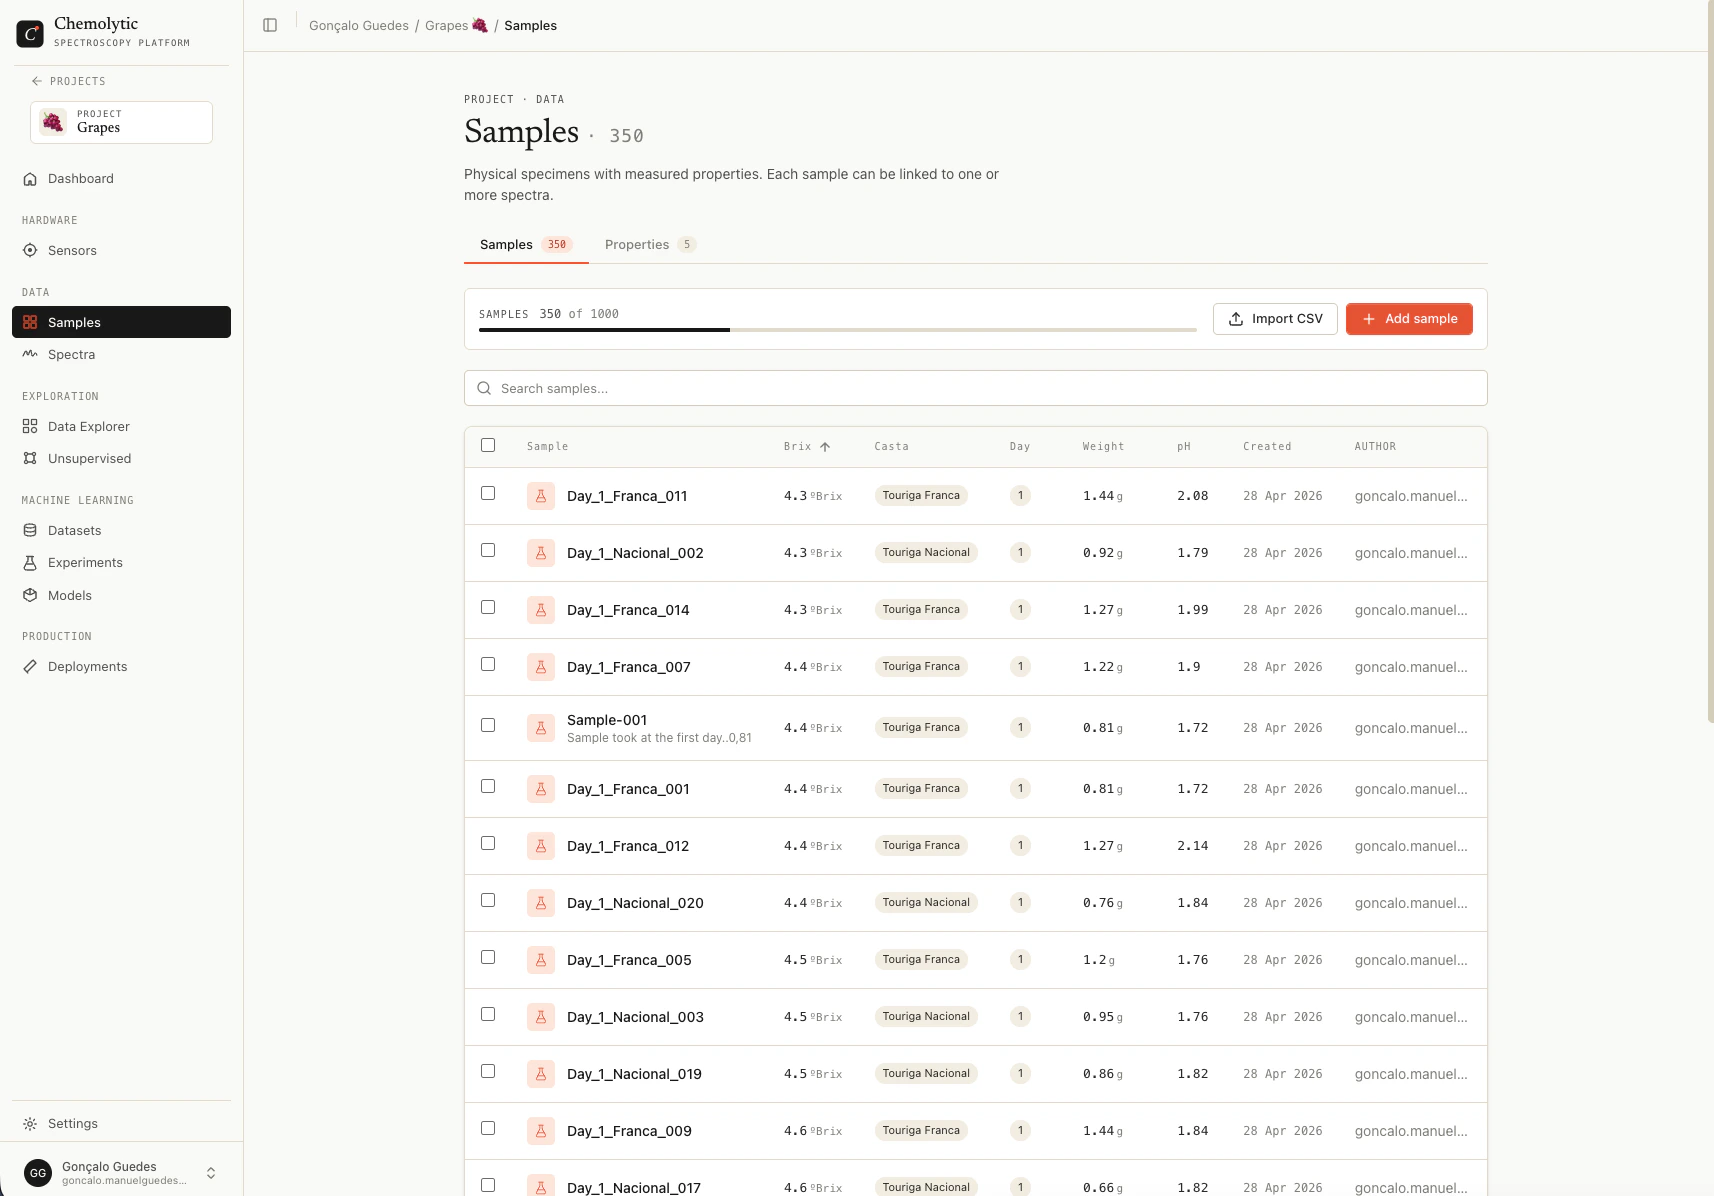
Samples table
The table shows one row per sample. Columns:
Click any column header to sort. Use the search box to filter by name or description. Page size can be set to 25, 50, or 100 per page.
Adding a sample manually
Click Add sample to open the create dialog.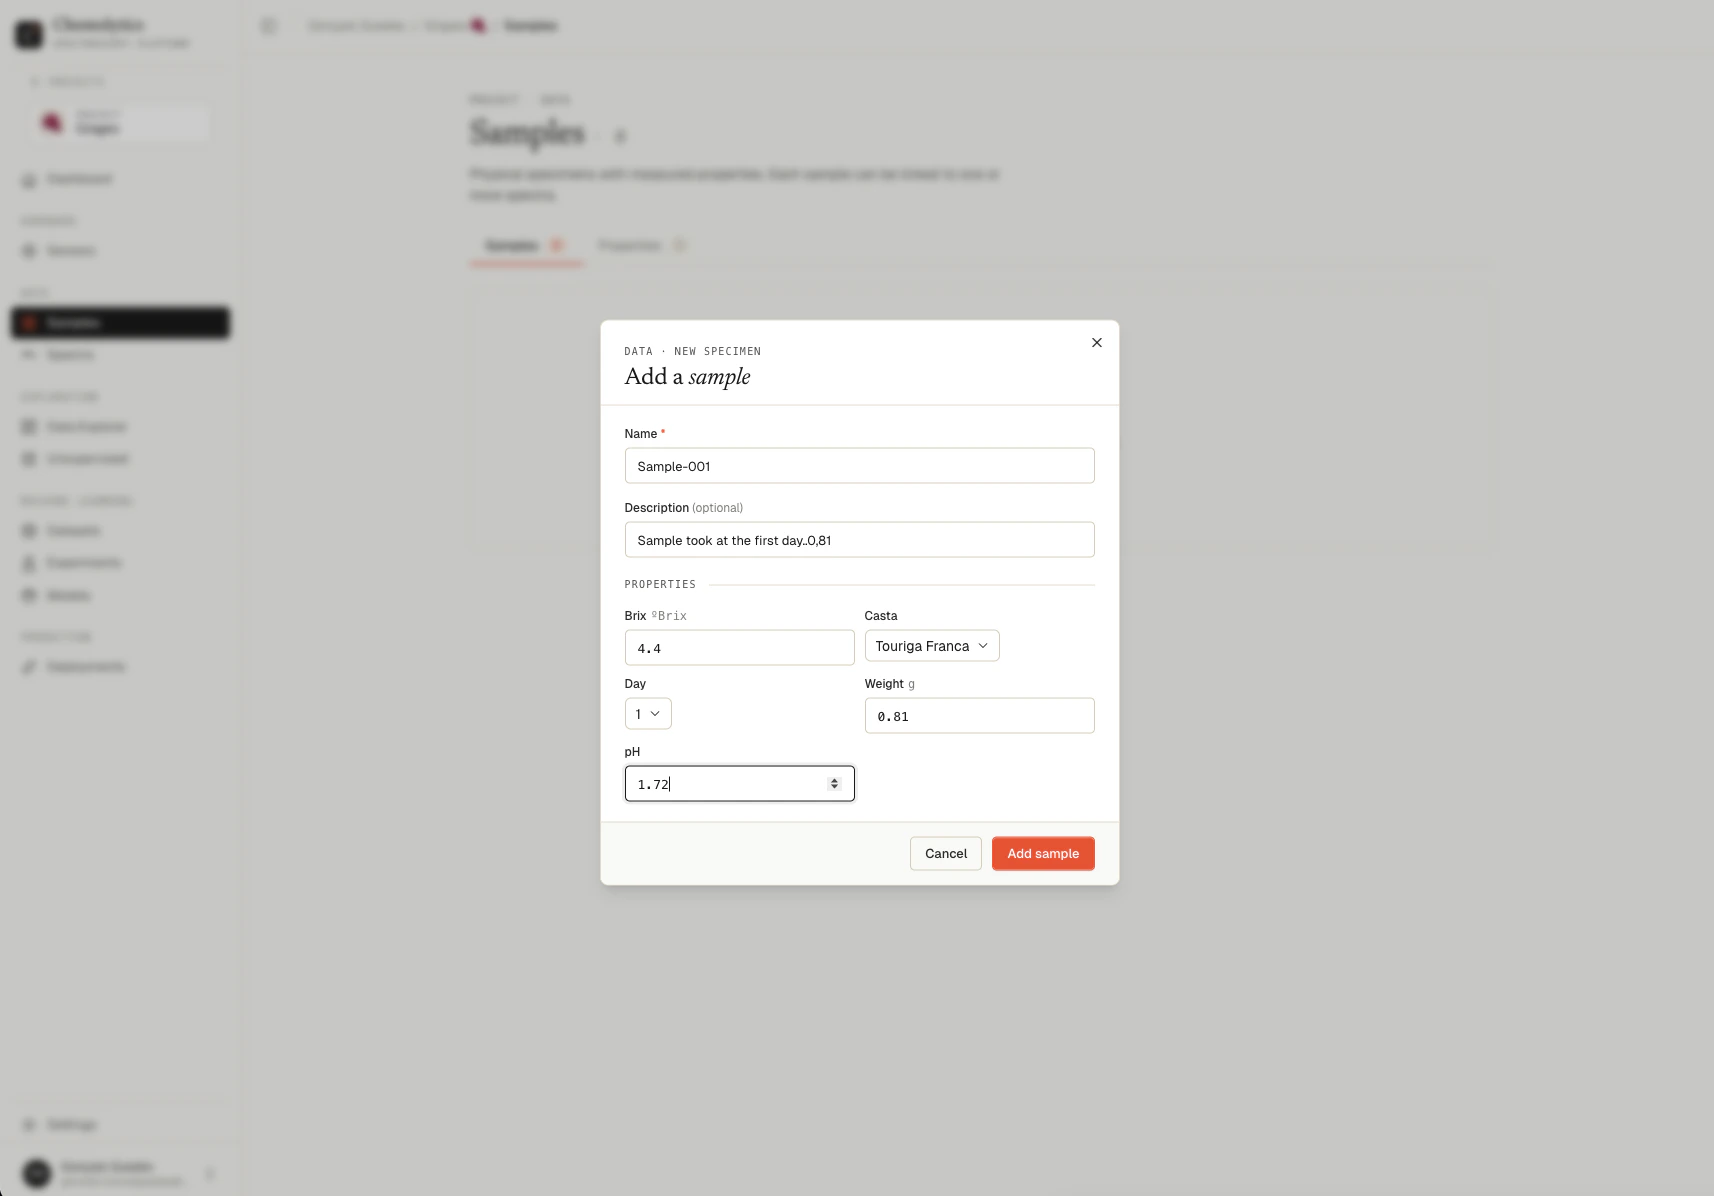
Fields
Continuous values
Enter a number. Decimals use a dot (e.g.,12.5). Anything not parseable as a number is rejected with: “Value '' is not a valid number for continuous property ''.”
Categorical values
Select a category from the dropdown. The dropdown shows the categories you defined for that property, plus a “not set” placeholder.Editing a sample
Click the pencil icon on a sample row. You can change the name, description, and any property values.Deleting a sample
Click the trash icon on a sample row.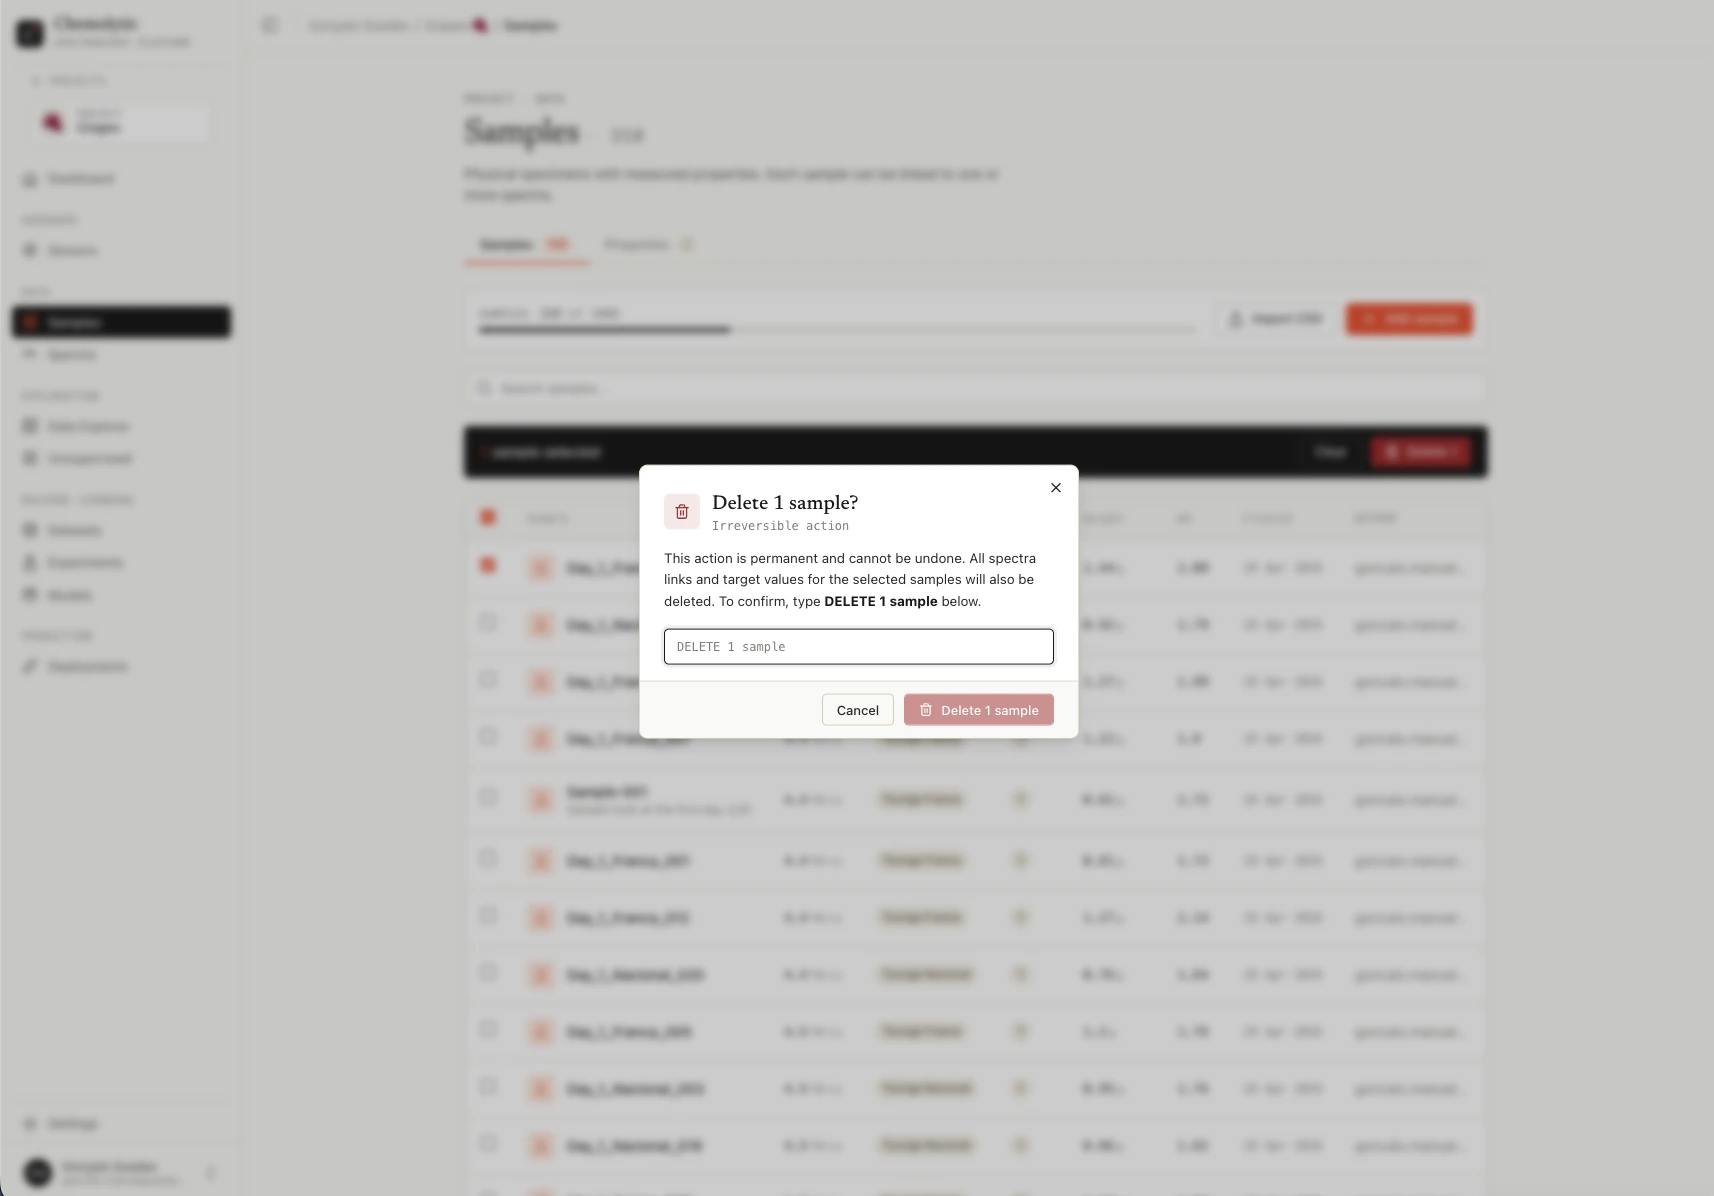
Bulk delete
Select multiple samples using the checkboxes on the left. A toolbar appears at the bottom with the count and a Delete button.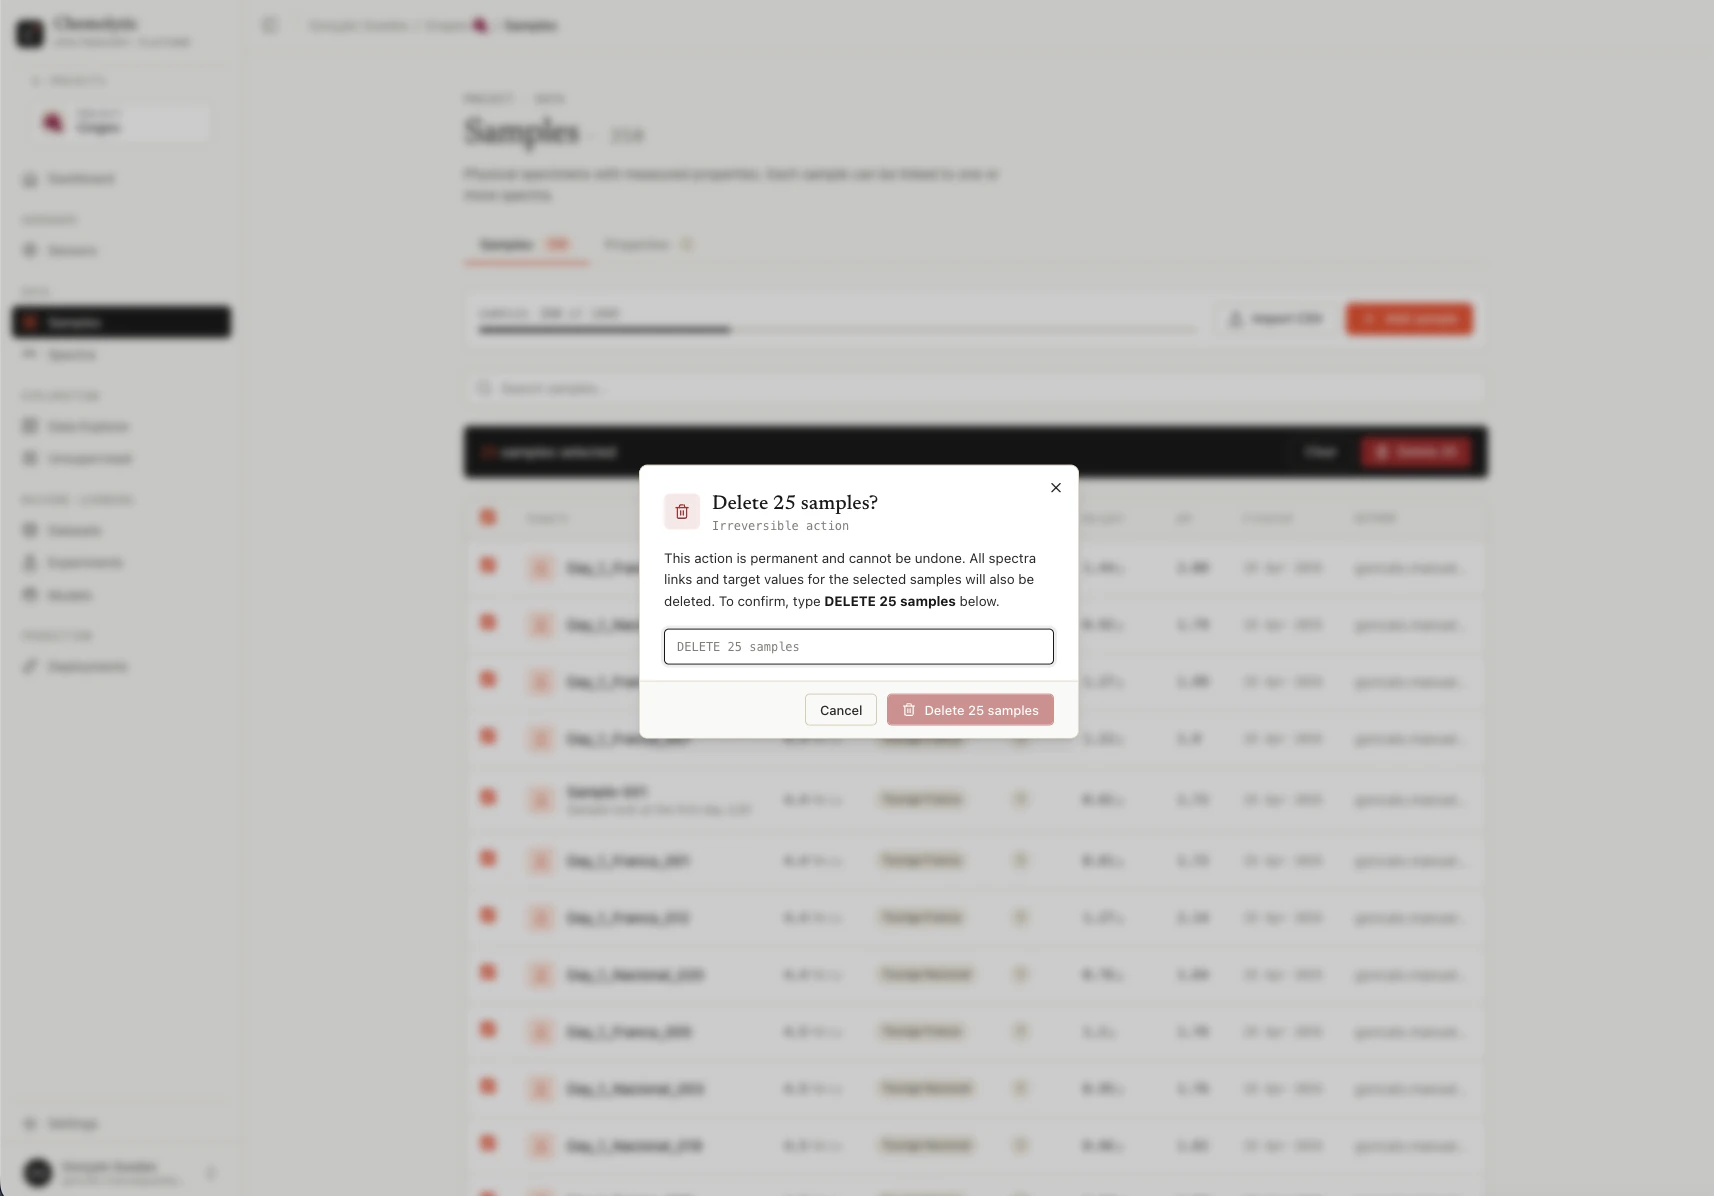
Plan limits
Your plan limits how many samples you can have per project. The current count and limit are shown at the top of the page. The Add sample and Import CSV buttons are disabled when you’ve reached the limit.Common errors
A sample with this name already exists
A sample with this name already exists
Sample names are unique within a project. Use a different name or update the existing sample.
Value is not a valid number for continuous property
Value is not a valid number for continuous property
The value you entered cannot be parsed as a number. Check for typos, units mixed with the value, or commas instead of dots for decimals.
Value is not in categories for property
Value is not in categories for property
The value doesn’t match any of the categories defined for this property. Categorical values are case-sensitive and must match exactly.