What is a sample?
A sample is a physical item you measured with a spectrometer. One bottle of olive oil, one soil core, one tablet, one grain batch. Each sample has:Sample names must be unique within a project. You cannot have two samples named “Sample-001” in the same project.
What is a property?
A property is a measurable attribute that you want to predict from spectra. Acidity. Protein content. Origin. Quality grade. Properties are defined once at the project level. Every sample can then have a value for each property.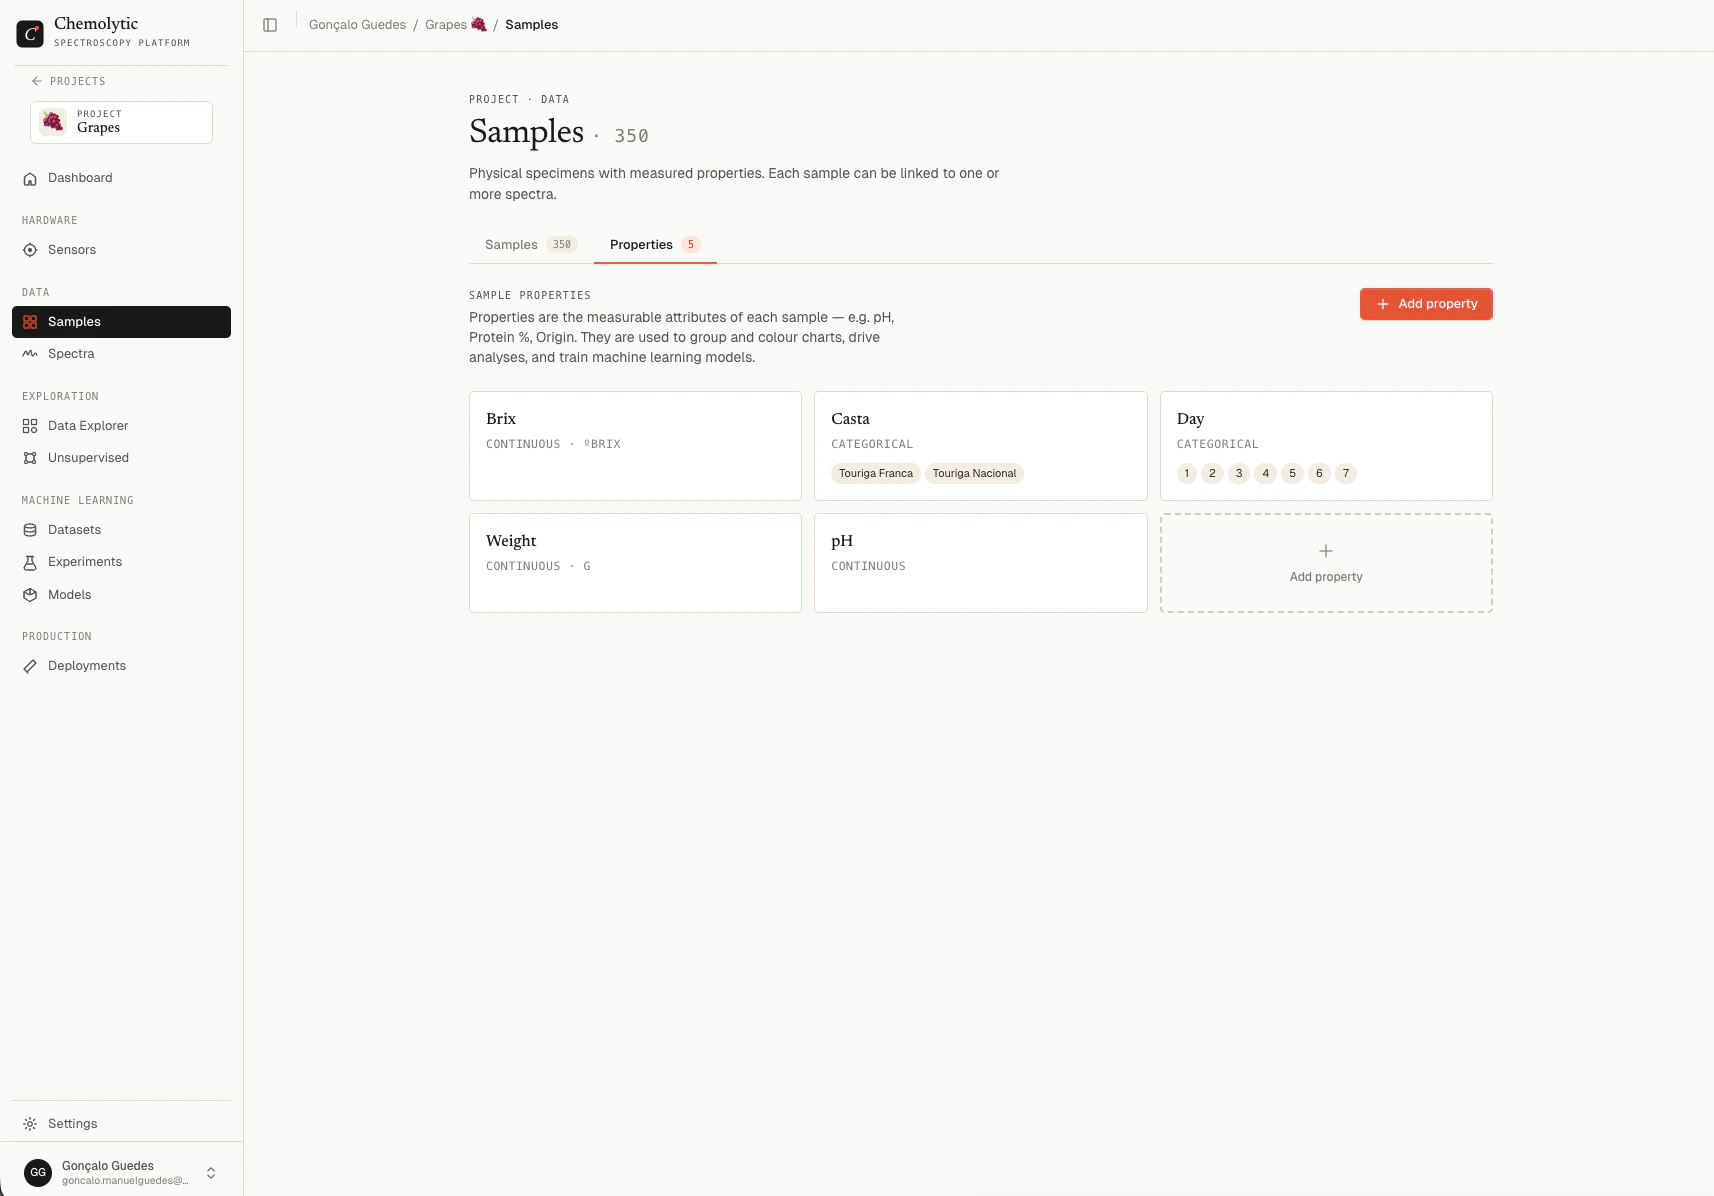
Continuous vs categorical
Every property is either continuous or categorical. This decision determines whether you train a regression or classification model.Continuous properties
Numeric values on a scale.
Continuous properties produce regression models. The model predicts a number.
Categorical properties
Discrete labels from a fixed list.
Categorical properties produce classification models. The model predicts which category.
How samples and properties connect
A sample can have one value (called a target) for each property defined in the project. These connections are what enable model training. A sample can:- Have values for all defined properties
- Have values for some properties only
- Have no property values at all (useful for samples you only want to measure but not train on yet)
Order matters: define properties first
When you start a project, define your properties before adding samples. This way you can fill in property values as you add each sample, instead of going back later to update each one.1
Define your properties
Go to Samples → Properties tab and create each property you want to predict.
2
Add samples
Switch to the Samples tab. As you add samples, fill in property values.
3
Upload spectra
Link spectra to existing samples (covered in Uploading spectra).