
Documentation Index

Fetch the complete documentation index at: https://docs.chemolytic.com/llms.txt

Use this file to discover all available pages before exploring further.

Chemolytic has two levels of membership: organization and project. Each has its own set of roles and permissions.

Organization roles

Go to Members in the left sidebar to manage your organization’s members.
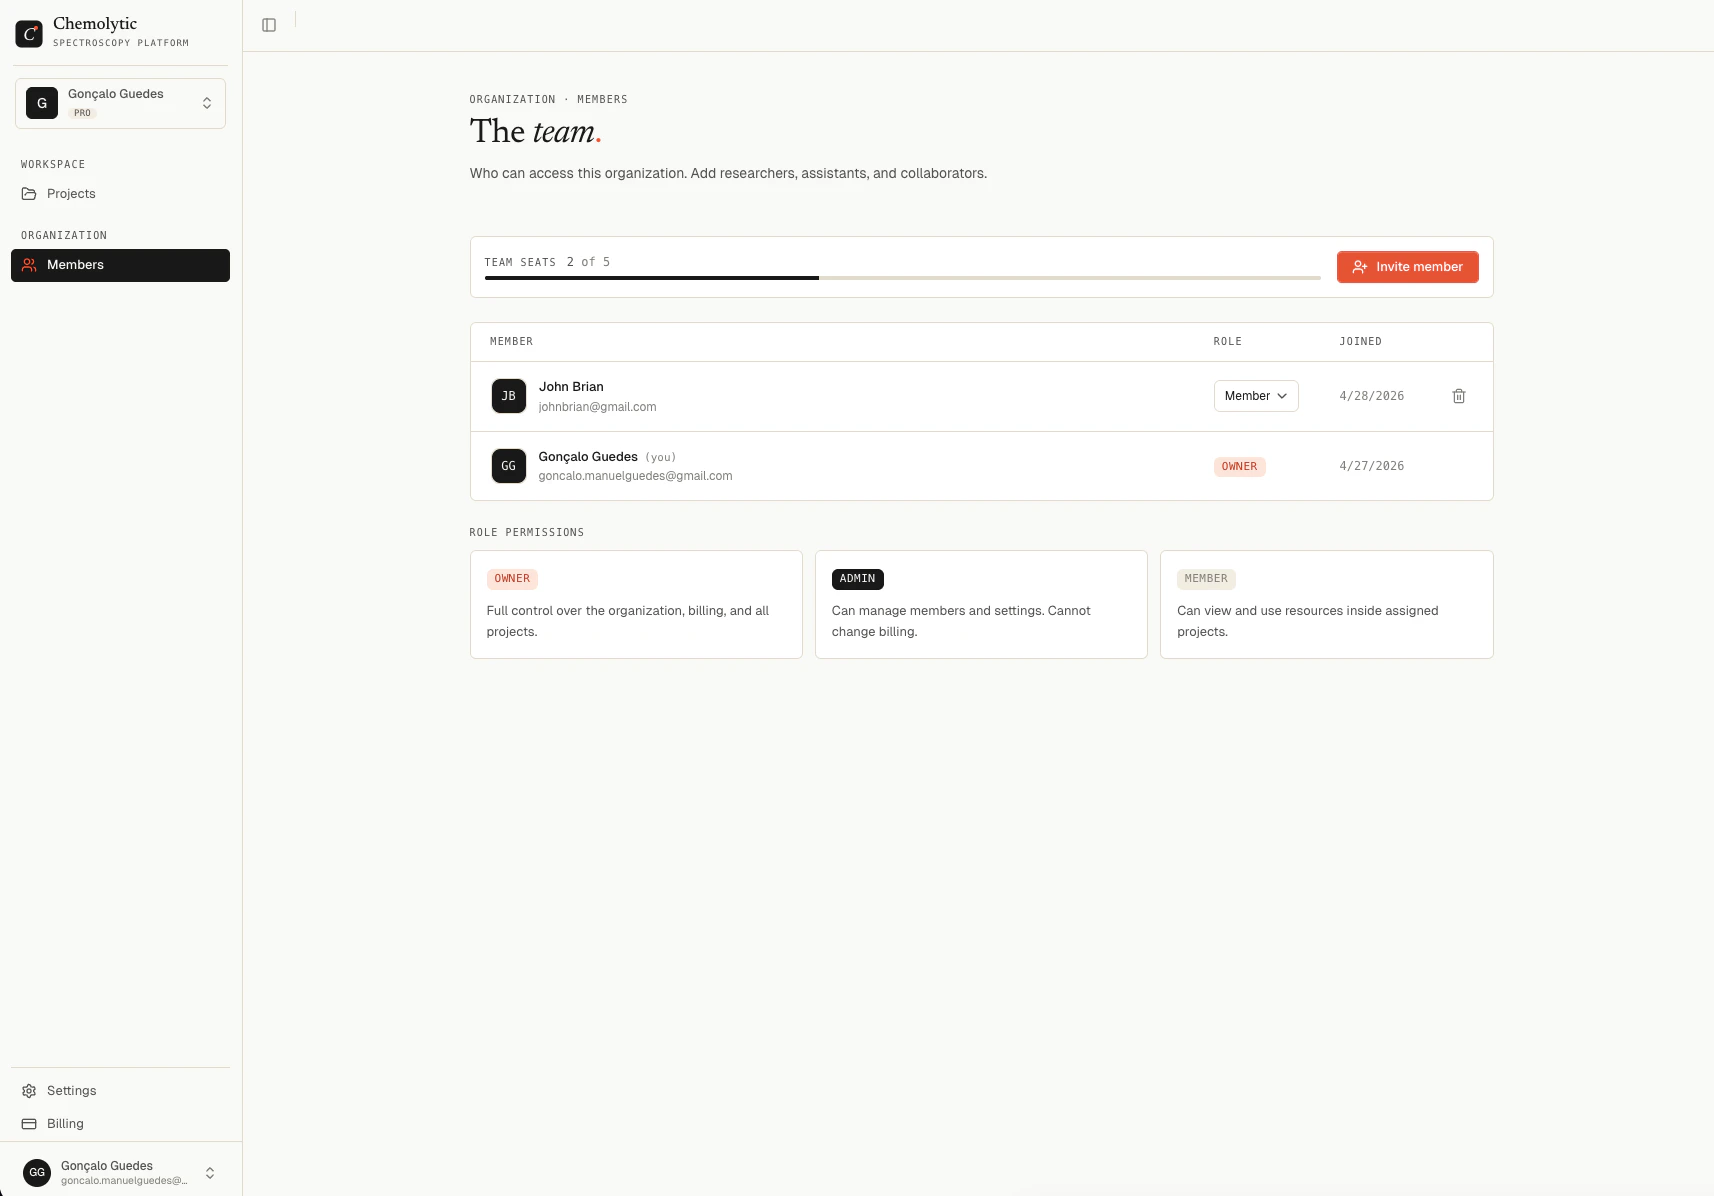
Members page showing a table with member names, roles, join dates, and a remove button
RoleWhat they can do
OwnerFull control over the organization, billing, and all projects
AdminCan manage members and settings. Cannot change billing.
MemberCan view and use resources inside assigned projects

Inviting a member

You need to be Admin or Owner to invite members.
  1. Click Invite member in the top right
  2. Enter the person’s email address
  3. Select a role (Admin or Member)
  4. Click Send invite
The person receives an email with a link to join. If they don’t have an account yet, they’ll be asked to create one first.
Your plan limits how many members you can have. Free: 1 member, Pro: 5 members, Enterprise: 100 members. If you’ve reached the limit, you need to upgrade before inviting more.

Changing a member’s role

Only the Owner can change roles. Click the role dropdown next to a member’s name and select the new role. The Owner role itself cannot be changed or transferred through this interface.

Removing a member

Admin and Owner can remove members using the trash icon on the right. Rules:
  • You cannot remove yourself
  • The Owner cannot be removed from the organization

Project roles

Each project has its own membership. Being a member of an organization does not automatically give you access to every project inside it.
Project members page showing a table with member names and project roles
RoleWhat they can do
OwnerFull control over the project, including deleting it and managing members
ContributorCan create and edit data, run experiments, and deploy models
ViewerRead-only access to all project resources

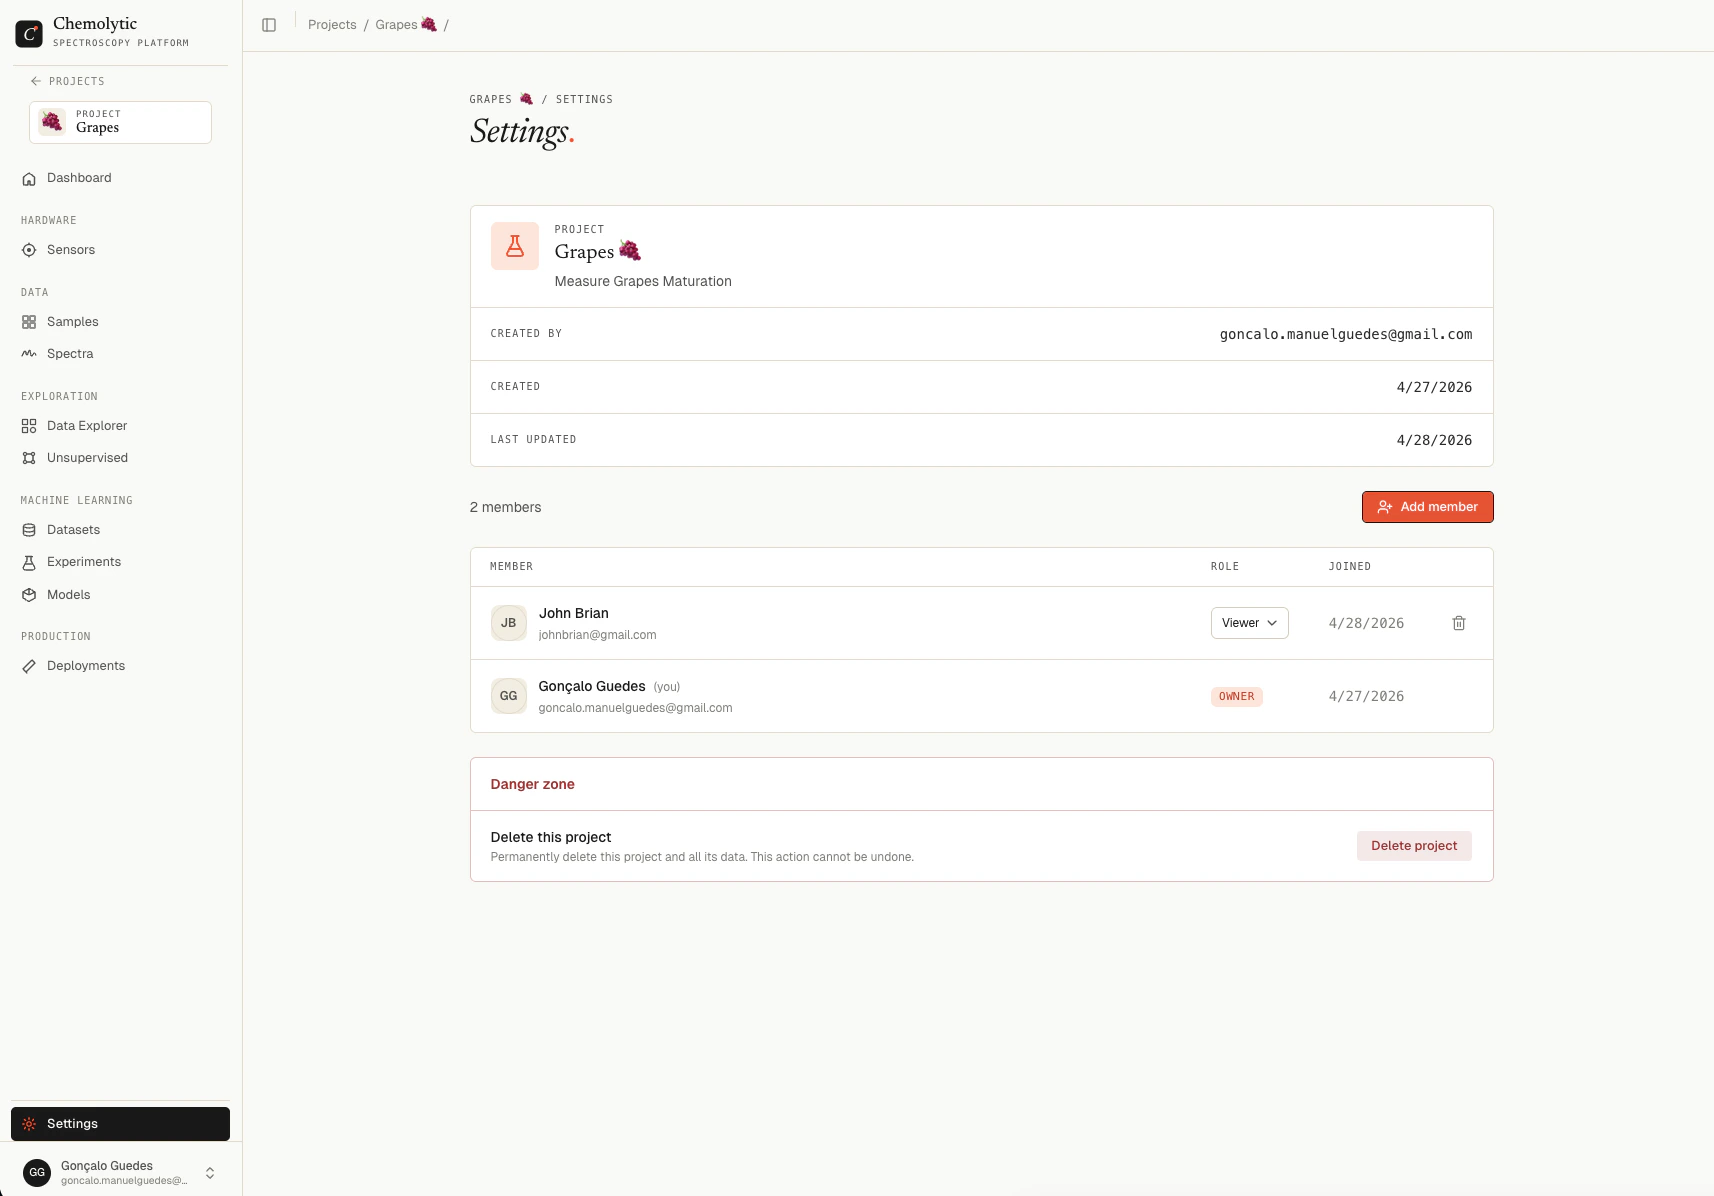
Adding a project member

  1. Inside a project, go to Settings in the sidebar
  2. Click the Members tab
  3. Click Add member, select a user from your organization, and assign a role
Only organization members can be added to a project. Invite them to the organization first.

Changing or removing a project member

Only the project Owner can change roles or remove members from a project.